Hello fellow yarn lovers! Are you ready to add a touch of cozy, handmade charm to your autumn wardrobe or your little one’s collection? Get excited, because today we’re diving into the absolutely adorable “Pumpkins in a Row Crochet Hat” pattern from the amazing Repeat Crafter Me!
Imagine a delightful hat, adorned with a playful line of crocheted pumpkins marching cheerfully around the brim. It’s the perfect blend of cute and cozy, guaranteed to bring a smile to anyone who wears it. This pattern is a fantastic choice for beginner crocheters looking to tackle a fun new project, or for anyone wanting to whip up some truly special, personalized gifts. It even makes a charming decoration for your home during the fall season!
With this easy-to-follow pattern, you’ll learn some simple shaping techniques and how to create those darling little pumpkins, all while creating a beautiful and wearable piece. Let’s grab our hooks and get started on this autumnal delight!
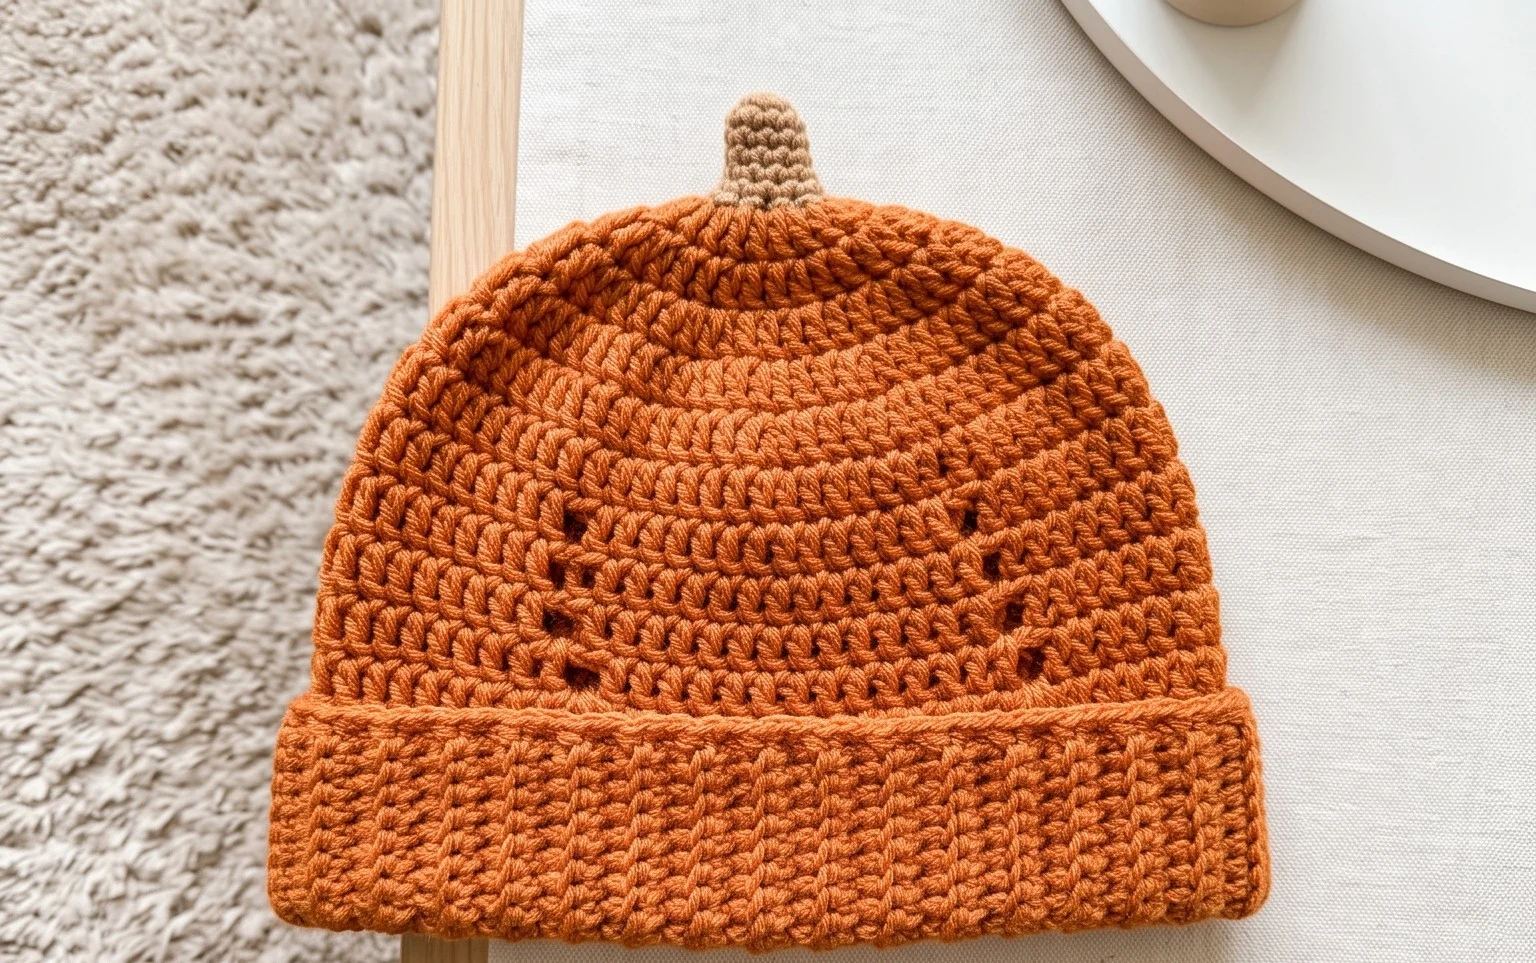
Spooktacular Style: Crafting the Pumpkins in a Row Crochet Hat
There’s something undeniably charming about pumpkins, and what better way to embrace the cozy, autumnal spirit than by crocheting a hat adorned with these beloved gourds? The “Pumpkins in a Row Crochet Hat” from Repeat Crafter Me is a delightful pattern that’s perfect for both seasoned crocheters looking for a fun project and adventurous beginners eager to tackle something a little more visually exciting. This hat isn’t just a cozy head warmer; it’s a wearable piece of seasonal art that’s sure to bring smiles.
Diving into the Details: Yarn and Hook Recommendations
One of the joys of crochet is the vast array of yarn choices. For the “Pumpkins in a Row” hat, a medium-weight yarn (often labeled as Worsted Weight or Aran) is your best friend. This weight provides a good balance between warmth and drape, making it ideal for headwear.
Yarn Fiber: Acrylic yarns are fantastic for this project. They are readily available, come in a stunning spectrum of colors, are durable, and are machine washable – a huge bonus for a hat that might see a lot of wear. Wool blends can also be lovely, offering extra warmth and a natural texture, but be mindful of their care instructions. Cotton blends can provide a lighter feel, but might not offer as much warmth.
Color Palette: Embrace the classic pumpkin palette! Think warm oranges for the pumpkins, rich browns for the stems, and greens for any optional vine accents. However, don’t feel limited! Miniature pumpkins in shades of cream, pale yellow, or even a dusky rose can add a unique, whimsical touch. For the hat base, consider a neutral like cream, grey, navy, or even a deep forest green to make your pumpkin motif pop.
Hook Size: The pattern will typically suggest a hook size. For worsted weight yarn, this is often a US H-8 (5.0 mm) or I-9 (5.5 mm) hook. It’s always a good idea to check your gauge by crocheting a small swatch before you begin the main hat. This ensures your hat will be the correct size. If your swatch is too small, try a larger hook; if it’s too large, use a smaller hook.
Mastering the Stitches: Techniques to Know
This pattern is designed to be accessible, but it does incorporate a few essential crochet stitches that form the foundation of the hat and its decorative elements.
Single Crochet (sc): This is your workhorse stitch for creating a dense, firm fabric that’s perfect for hats. It’s a simple stitch that involves inserting your hook into a stitch, yarning over, pulling up a loop, yarning over again, and pulling through both loops on your hook.
Half Double Crochet (hdc): Offering a bit more height than single crochet, half double crochet creates a slightly more relaxed fabric. You’ll yarn over before inserting your hook, then yarn over and pull through all three loops on your hook.
Double Crochet (dc): This stitch is taller and creates a more open fabric. You’ll yarn over, insert your hook, yarn over, pull up a loop, yarn over, pull through two loops, and then yarn over and pull through the remaining two loops.
Magic Ring (or adjustable loop): This is often used to start the crown of the hat, creating a neat, tight center without a hole.
Increasing and Decreasing: To shape the hat, you’ll be increasing stitches (typically by working two stitches into the same stitch) to make the hat wider and decreasing stitches (by working two stitches together) to taper it in.
Working in the Round: The hat is constructed by working in continuous rounds, meaning you don’t join and chain at the end of each round. This creates a seamless fabric and a clean finish.
Appliqué Construction: The pumpkins themselves are crocheted separately as small appliqués and then sewn onto the hat. This often involves working in rows or rounds to create the pumpkin shape and then adding a small stem.
Tips for Beginners: Making it Your Own
Even if you’re relatively new to crochet, the “Pumpkins in a Row” hat is a fantastic project to build your skills. The pattern is usually well-written, and the visual element of the pumpkins can be very motivating.
Read Through the Pattern First: Before you even pick up your hook, read the entire pattern from beginning to end. Familiarize yourself with the stitch abbreviations and the overall construction.
Watch Video Tutorials: If you’re unsure about a specific stitch or technique, YouTube is your best friend! Search for tutorials on single crochet, half double crochet, working in the round, and the magic ring. Seeing it done can make all the difference.
Master the Gauge Swatch: I can’t stress this enough! A correct gauge swatch is the secret to a hat that fits.
Use Stitch Markers: These little helpers are invaluable for keeping track of where rounds begin and end, especially when working in the round.
Don’t Be Afraid to Unravel: Everyone makes mistakes! If you realize you’ve gone wrong, it’s better to carefully unravel a few stitches than to continue with an error. It’s a learning process!
Focus on One Pumpkin at a Time: When you get to the pumpkin appliqués, take them one by one. This makes the process feel less overwhelming.
Practice Your Sewing: The neatness of your pumpkin appliqués will significantly impact the finished look of your hat. Practice sewing them onto a scrap piece of fabric before attaching them to your hat.
Beyond the Basics: Customization Ideas
The “Pumpkins in a Row” hat is a wonderful canvas for personalization.
Size Matters: The pattern will likely offer instructions for various sizes, from baby to adult. Carefully follow the sizing guide, and remember that gauge is crucial for accurate sizing. You can also adjust the number of rounds in the main hat body to make it taller or shorter.
Color Play: As mentioned, the color possibilities are endless! Experiment with ombre yarns for the hat base or even for the pumpkins themselves. Consider a contrast color for the stem, or add a small green leaf or curly vine to the stem for extra detail.
Pumpkin Variations: Instead of just solid pumpkins, try creating textured pumpkins by incorporating stitches like bobbles or puff stitches for the outer rows. You could also make your pumpkins slightly different sizes for a more organic look.
Adding a Brim: For extra warmth and a different style, you could crochet a ribbed brim around the bottom edge of the hat.
Pom-Pom Perfection: A fluffy pom-pom on top is a classic hat embellishment. You can make one from yarn or even use a faux fur pom-pom for a touch of luxury.
Embellishments: Consider adding small embroidered details like simple stitch lines to mimic the segments of a pumpkin, or tiny French knots for a touch of sparkle.
Caring for Your Cozy Creation
To ensure your “Pumpkins in a Row” hat stays looking its best for many autumns to come, follow these simple care instructions:
Washing: Most acrylic yarns can be machine washed on a gentle cycle with cold or lukewarm water. If you used wool or a wool blend, hand washing is usually recommended to prevent felting. Always check the yarn label for specific care instructions.
Detergent: Use a mild detergent. Avoid fabric softeners, as they can sometimes coat the fibers and reduce the yarn’s loft.
Drying: Never machine dry your crochet hat. The heat can cause it to shrink, warp, or even melt (in the case of some synthetic fibers). Instead, gently squeeze out excess water (don’t wring it out!) and lay the hat flat on a clean towel in a well-ventilated area to air dry. Reshape it while it’s still damp.
Storage: When not in use, store your hat folded or on a hat stand to help it maintain its shape. Avoid cramming it into a tight space.
Project Ideas: More Than Just a Hat!
While the hat is the star of the show, the techniques and appliqué designs you’ll learn can be applied to a multitude of other cozy crochet projects.
Pumpkin Coasters: Create a set of adorable pumpkin coasters to protect your furniture.
Pumpkin Garland: String together a series of mini pumpkins to make a festive fall garland.
Pumpkin Pouch/Bag: Crochet a larger pumpkin shape and add a drawstring or strap to create a charming little bag or gift pouch.
Pumpkin Patch Scarf: Incorporate the pumpkin motifs into a crochet scarf for an extra touch of autumnal flair.
Pumpkin Appliqué Sweaters/Blankets: Sew your finished pumpkin appliqués onto existing sweaters, blankets, or even tote bags for a personalized touch.
Pumpkin Cuddler: Crochet a larger, stuffed pumpkin for a cute decorative item or cuddle buddy.
The “Pumpkins in a Row Crochet Hat” from Repeat Crafter Me is more than just a pattern; it’s an invitation to embrace the season, hone your crochet skills, and create something truly special. So grab your yarn, hook up some coziness, and get ready to turn heads with your fabulous handmade fall fashion!
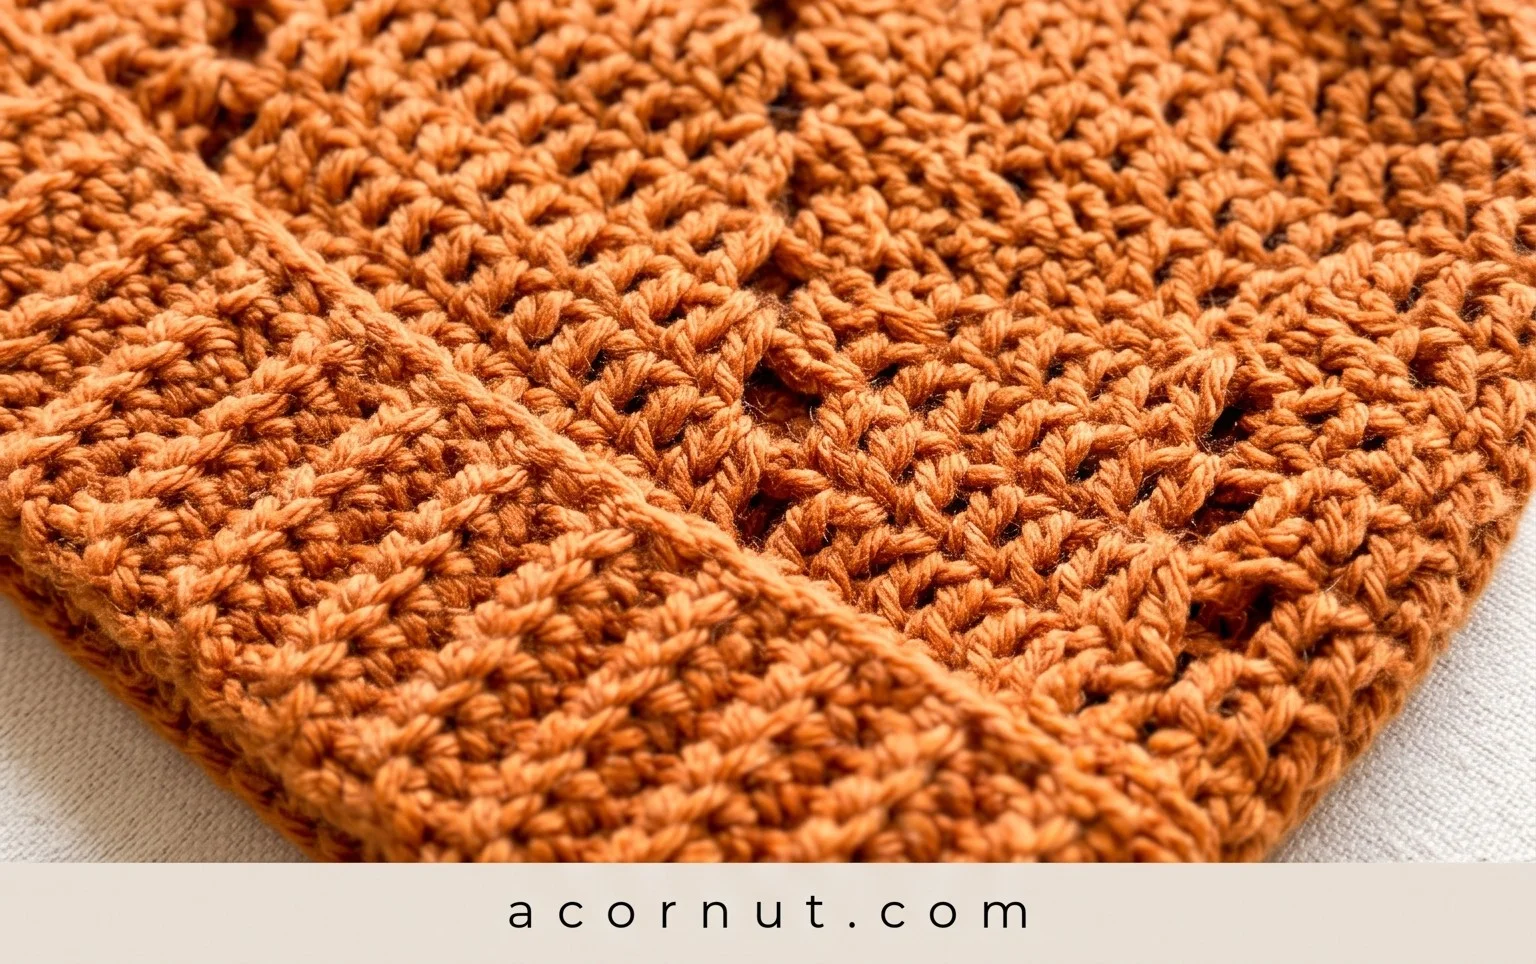
We hope you’ve enjoyed this delightful pumpkin patch adventure with our Pumpkins in a Row Crochet Hat! This pattern is perfect for adding a touch of seasonal charm to your wardrobe. Don’t be shy – grab your hook and some cozy yarn and give it a try! We’d absolutely love to see your adorable finished hats! Tag us on social media using #PumpkinsInARowHat so we can admire your handiwork. Feel free to get creative with different yarn colors or even add a little stem for an extra touch of realism. And remember, this is just one of many fun patterns waiting for you here at Repeat Crafter Me – be sure to explore our other designs for more crafting joy!