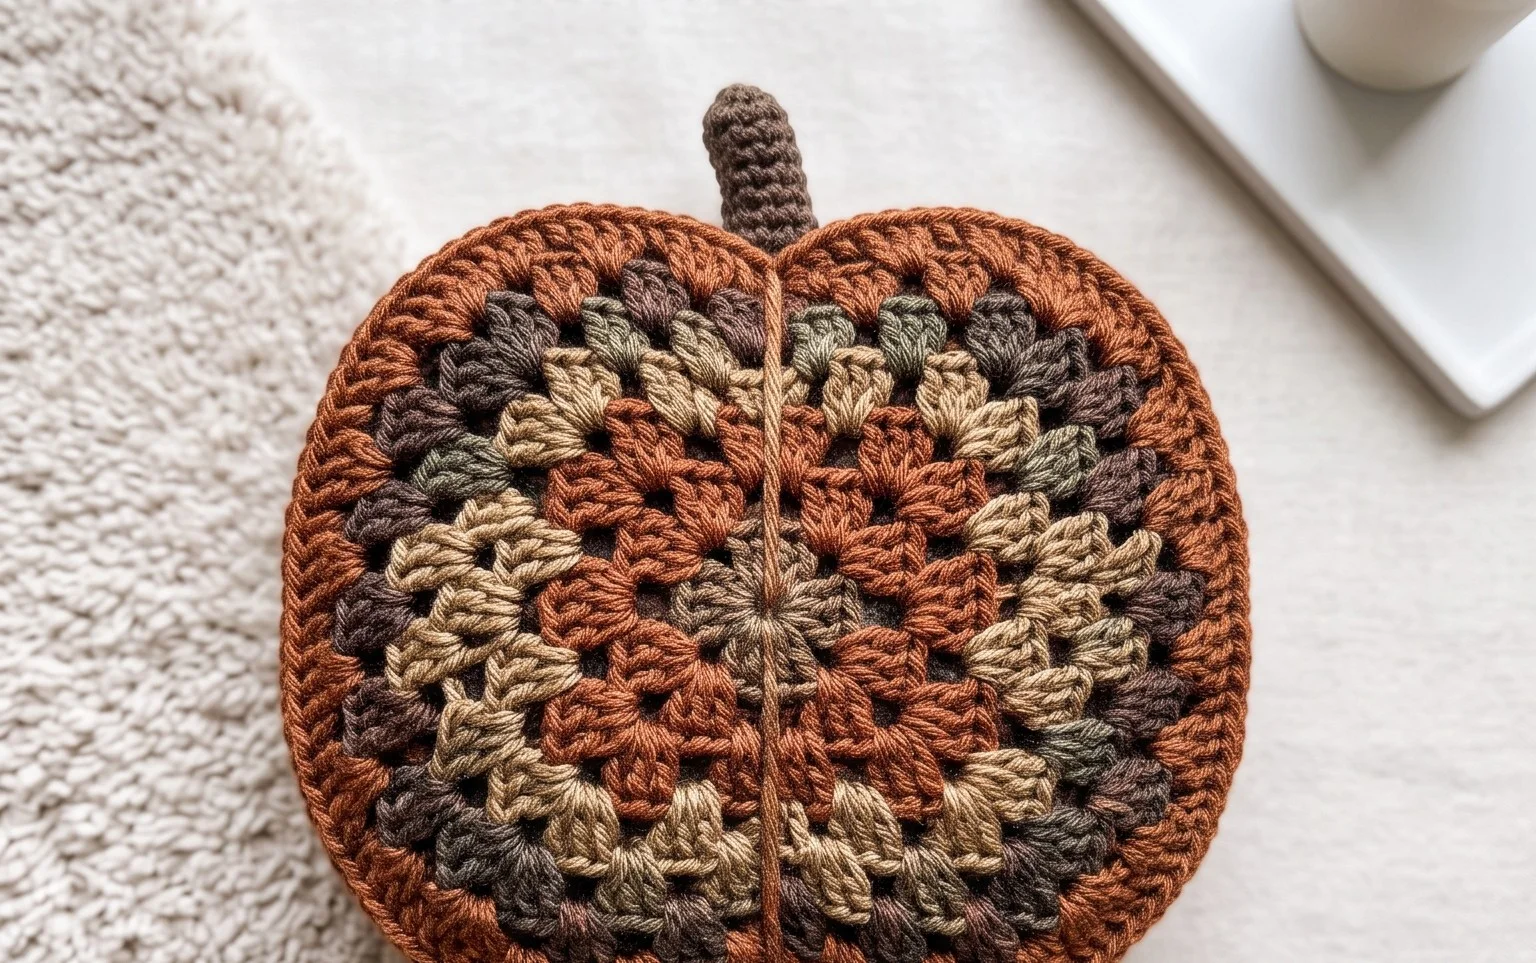
Hello fellow crochet lovers! As the leaves begin to turn and a crisp, cozy feeling fills the air, there’s nothing quite like the joy of crafting some adorable autumn decor. Today, we’re diving into an absolute fall classic: the Cute Granny Square Pumpkin!
Imagine a delightful cluster of cheerful, textured pumpkins, each bursting with quintessential granny square charm. These little beauties are wonderfully versatile – perfect for adorning your mantelpiece, adding a pop of color to your Thanksgiving table, or even becoming the sweetest handmade gift for a loved one. Don’t worry if you’re new to crochet; this pattern is wonderfully beginner-friendly, breaking down each step with clear instructions. You’ll learn how to master the iconic granny square stitch and transform it into these irresistible pumpkins, creating a project that’s as fun to make as it is to display. Get ready to fall in love with crochet this autumn!
Cute Granny Square Pumpkins: An Irresistibly Classic Fall Crochet Pattern
Ah, autumn! The crisp air, the colorful leaves, and the undeniable charm of pumpkins gracing every doorstep. What better way to embrace the season’s spirit than by crocheting your own adorable little pumpkin patch? This Cute Granny Square Pumpkin pattern takes a beloved crochet classic – the granny square – and transforms it into a festive and irresistibly cute fall decoration. Whether you’re a seasoned crocheter looking for a quick and rewarding project, or a curious beginner eager to dive into the world of yarn and hooks, this pattern is designed to bring a smile to your face and a touch of handmade magic to your home.
Yarn and Hook Recommendations: Building Your Pumpkin Palettes
The beauty of crochet is its versatility, and these little pumpkins are no exception! We’ll be using worsted weight yarn for that perfect stitch definition and cozy feel. Worsted weight is a fantastic weight for beginners as it’s easy to handle and works up relatively quickly, giving you satisfying progress.
Yarn Choices: For classic pumpkin colors, you can’t go wrong with shades of orange, from deep terracotta to bright pumpkin spice. But why stop there? Embrace the creative spirit of fall and experiment with other colors! Think creamy ivory for ghost pumpkins, soft greens for gourds, or even vibrant yellows for a unique twist. A sturdy cotton or cotton blend yarn is ideal as it holds its shape well, which is important for our little pumpkins. However, acrylic yarns are also a great choice, offering a wide range of colors and being very forgiving for new crocheters. Look for yarns that are labelled “worsted weight” or “medium weight.”
Hook Size: A common hook size for worsted weight yarn is a 4.5mm (US 7) or 5.0mm (US H-8). The exact hook size will depend on your personal tension (how tightly or loosely you crochet) and the specific yarn you choose. It’s always a good idea to check the yarn label for recommended hook sizes, and consider doing a small swatch to see how your stitches look and feel. A swatch will also help you achieve the desired size for your pumpkins. If your stitches are too loose and gappy, try a smaller hook. If they are too tight and stiff, try a larger one.
Stitch Techniques Used: Mastering the Granny Square Basics
The heart of this project lies in the ever-popular granny square. It’s a fundamental crochet motif that’s surprisingly easy to learn and incredibly satisfying to create.
Chain (ch): This is the starting point for most crochet projects, creating a foundation of loops.
Slip Stitch (sl st): Used for joining rounds or moving yarn without adding height.
Single Crochet (sc): A basic stitch that creates a dense fabric.
Double Crochet (dc): A taller stitch that forms the iconic clusters of the granny square.
V-Stitch (V-st): Typically made of (dc, ch 1, dc) in a stitch. This is a key stitch for creating those lovely open spaces in the granny square.
Granny Stitch Cluster: The signature element of a granny square, usually consisting of three double crochets worked into the same stitch or space.
For this pattern, we’ll be working our granny squares in rounds. This means you’ll be joining the end of each round to the beginning, creating a seamless circle. Don’t worry if your first few granny squares aren’t perfectly round; practice makes perfect!
Tips for Beginners: Crocheting Your Way to Success
Starting a new crochet pattern can feel a little daunting, but with these beginner-friendly tips, you’ll be creating adorable pumpkins in no time!
Read the Pattern Thoroughly: Before you even pick up your hook, read the entire pattern from start to finish. This will give you a general understanding of the steps involved.
Watch Video Tutorials: If you’re unfamiliar with any of the stitches mentioned, YouTube is your best friend! Search for tutorials on “how to crochet a granny square,” “how to make a V-stitch,” and “how to crochet in the round.” Seeing the stitches worked can be incredibly helpful.
Use a Lighter Colored Yarn for Practice: When you’re learning new stitches, it’s much easier to see your loops and stitches when using a lighter colored yarn. This will help you identify any mistakes.
Don’t Be Afraid to Start Over: It’s completely okay to unravel your work (this is called “frogging” in crochet!) and start again if you make a mistake. Everyone does it!
Keep Your Tension Consistent: Try to maintain a consistent tension throughout your work. This will ensure your pumpkins have a uniform look and feel.
Use Stitch Markers: Stitch markers are invaluable for beginners! Use them to mark the beginning of a round or important stitches, so you don’t lose your place.
Focus on One Round at a Time: Break down the pattern into manageable steps. Focus on completing one round before moving on to the next.
How to Customize: Making Your Pumpkins Uniquely Yours
The beauty of this crochet pattern is its incredible potential for customization. Get ready to let your creativity shine!
Color Combinations:
Traditional: Shades of orange for the body, green for the stem.
Whimsical: Use different shades of orange within the same pumpkin, or try stripes of alternating colors.
Earthy Tones: Incorporate browns, creams, and muted greens for a more natural look.
Pastel Pals: Soft blues, pinks, and yellows can create a charming, almost whimsical set of pumpkins.
Sizes:
Small Pumpkins: Simply crochet fewer rounds for a smaller pumpkin. This is great for making mini pumpkins or creating a variety of sizes for a charming display.
Larger Pumpkins: Add more rounds to your granny squares. You might need to adjust the number of stitches in subsequent rounds to maintain the circular shape. For larger pumpkins, you might also consider working with a bulkier yarn and a larger hook.
Stem Variations:
Crocheted Stem: The pattern typically includes instructions for a simple crocheted stem, often made with green yarn.
Fabric Stem: For a different texture, you could cut a strip of brown or green fabric and securely stitch it to the top of your pumpkin.
Felted Stem: Use brown or green felt and cut it into a stem shape.
Twisted Rope Stem: A piece of twisted jute or embroidery floss can add a rustic touch.
Leafy Accents: Add a small crocheted leaf in green or brown yarn to the stem for an extra touch of realism and charm.
Care Instructions: Keeping Your Pumpkins Pretty
These crocheted pumpkins are designed to be cherished decorative items. With a little care, they’ll bring autumnal joy for many seasons to come.
Spot Clean: For minor spills or dust, gently spot clean the area with a damp cloth and mild soap. Avoid harsh scrubbing, which can damage the yarn.
Hand Wash (if necessary): If a more thorough cleaning is needed, hand wash your pumpkin in cool water with a small amount of gentle detergent. Gently squeeze out excess water without wringing or twisting.
Reshape and Air Dry: Lay your pumpkin flat on a clean towel and gently reshape it to its original form. Allow it to air dry completely. Do not put it in a dryer, as the heat can cause the yarn to shrink or felt.
Avoid Direct Sunlight: Prolonged exposure to direct sunlight can cause colors to fade over time. Display your pumpkins in a spot that’s out of harsh sun.
Project Ideas: Beyond Just Decoration!
While these Cute Granny Square Pumpkins are undeniably charming as standalone decorations, their potential extends far beyond that!
Garland Galore: String several pumpkins together to create a festive and handmade fall garland.
Bowl Fillers: Gather a collection of various sizes and colors and fill a decorative bowl for a stunning centerpiece.
Gift Toppers: Attach a small pumpkin to a gift for a unique and thoughtful finishing touch.
Amigurumi Friends: For slightly larger pumpkins, you can add safety eyes and a small embroidered mouth to create adorable amigurumi companions.
Party Favors: Make mini pumpkins for each guest at your fall gathering – a sweet and memorable keepsake.
Cozy Corner Accent: Place them on bookshelves, mantels, windowsills, or anywhere you want to add a touch of fall cheer.
This Cute Granny Square Pumpkin pattern is more than just a set of instructions; it’s an invitation to create, to connect with the cozy spirit of autumn, and to craft something truly special. So grab your yarn, your hook, and let the pumpkin-making magic begin! Happy crocheting!
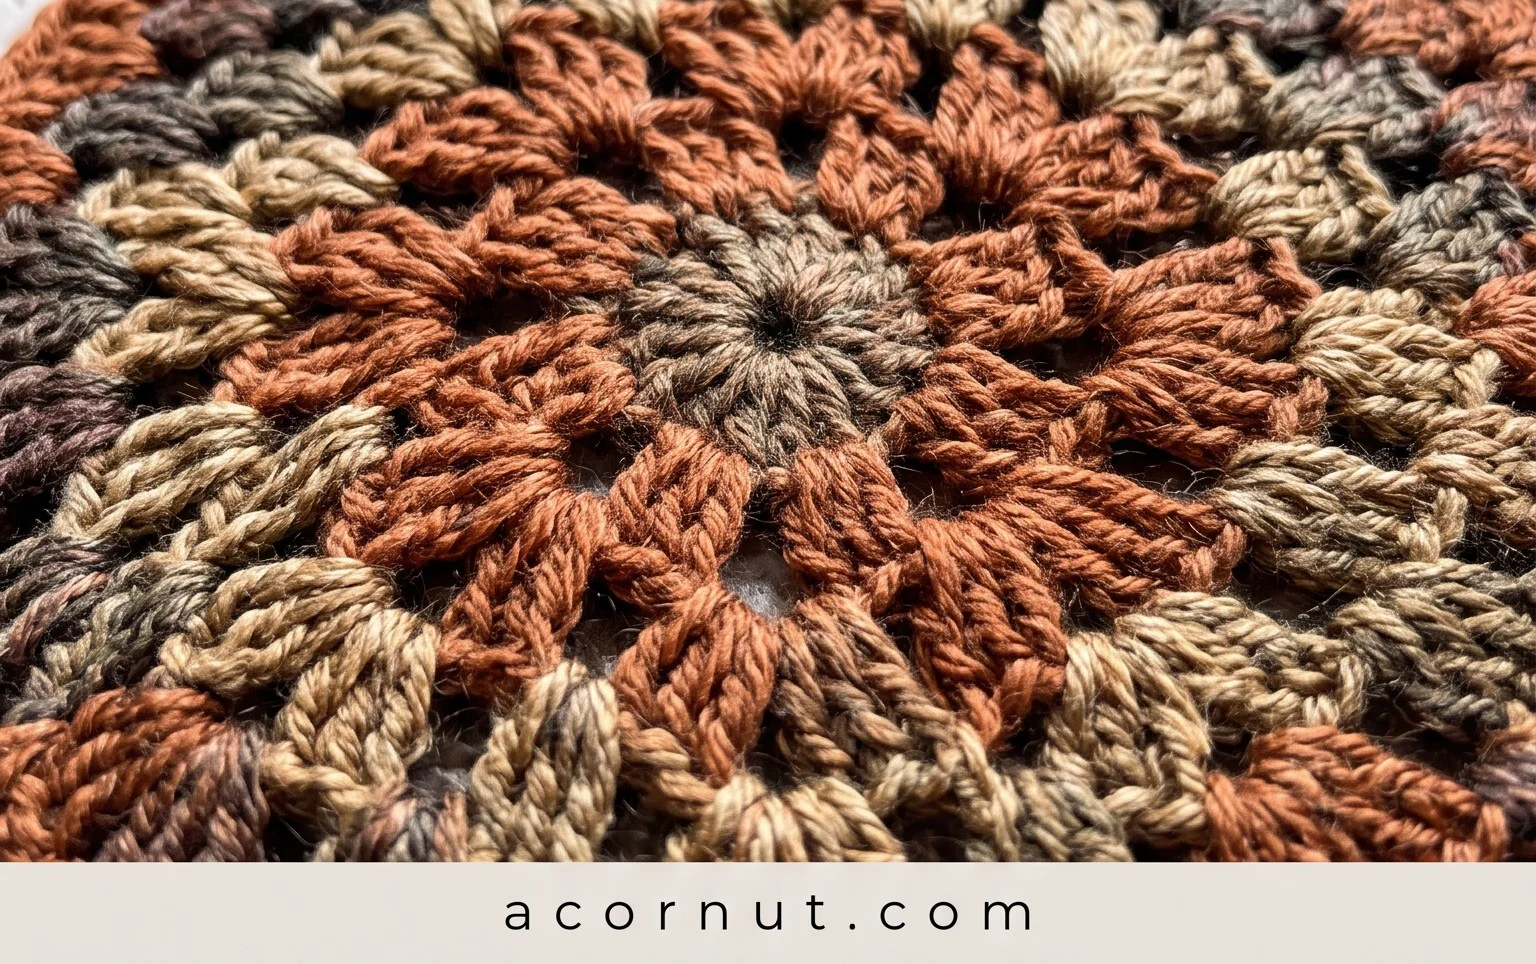
There you have it – your very own irresistibly cute granny square pumpkins, ready to add a touch of cozy charm to your autumn decor! We truly hope you enjoyed crafting these little beauties as much as we loved designing them. Don’t forget to share your finished pumpkins with us on social media using #CuteGrannyPumpkins – we can’t wait to see your delightful creations!
Feel free to get creative with yarn colors, add stems made of felt or twigs, or even crochet them in different sizes. And when you’re ready for your next crochet adventure, be sure to explore our other seasonal patterns for more handmade happiness!